Thinking about a smart security system installation at your home? A little planning up front makes the gear work better and saves you from do-overs. Here’s a straightforward approach you can follow.
What a Smart Security System Should Do
Decide what matters most before you buy parts and the overall system. Typical priorities include:
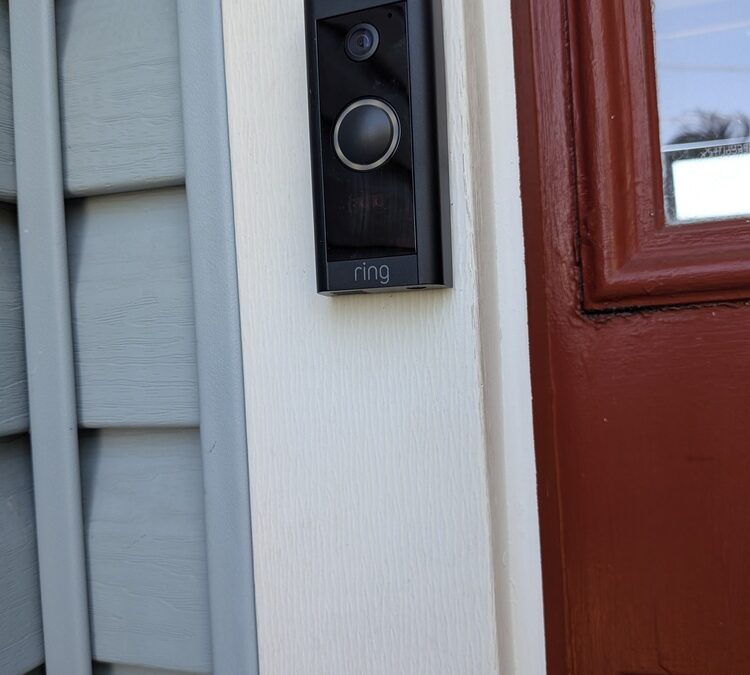
- Deter porch theft and capture clear video at your front entry
- Watch driveways, walkways, and the backyard gate
- Log door activity and know who’s coming/going
- Get reliable alerts without false alarms
Write your priorities down. They’ll drive where you place devices and which features you enable.
Decide What to Install Now vs. Later
Build a starter set, then expand:
- Now: doorbell camera, key exterior camera(s), a smart lock, and main-door sensors
- Later: interior cameras, additional window/door sensors, motion sensors, siren, or a hub/keypad
Start with the entry points you actually use every day. You can add the rest once you confirm Wi‑Fi coverage and alert settings are working well.
Pick the Right Ecosystem (and Avoid Franken-systems)
Choose a platform that covers your devices without a lot of brand mixing. Ring, Nest, Eufy, Arlo, and Aqara each have strengths. Hub-based setups like SmartThings or Apple Home can tie brands together, but more parts mean more complexity.
- Check compatibility for doorbells, locks, sensors, and automations.
- Minimize mixing brands to reduce app juggling and odd bugs.
Storage: Cloud vs. Local
- Cloud plans: Simple to set up; look at cost per camera and how many days of history you get.
- Local NVR/SD: No monthly fee and faster playback; requires reliable power and good cable management.
Account Security Basics
- Enable two‑factor authentication on every account.
- Use unique, strong passwords—don’t reuse your email password.
Plan Coverage Like a Pro
Walk your property and mark every entry: front and back doors, garage and side doors, basement bulkhead, and first‑floor windows.
Camera Placement
- Mount 8–10 feet high for clear faces and license plates.
- Aim across windows/doors rather than straight at glass to reduce glare.
- Use motion zones and privacy masks to cut false alerts and avoid recording the street or neighbors.
If drafts or sticky windows are part of the issue where sensors will go, address those first. See Fix Window Problems: Common Causes and Solutions.
Verify Connectivity Before You Mount
- Wi‑Fi mapping: 2.4 GHz travels farther; 5 GHz is faster but short range. Test signal (RSSI) at each planned device location with your phone or the camera app.
- Consider a mesh node or outdoor access point for side yards or detached garages.
- Hardwired PoE cameras are most reliable if you can run cable cleanly.
- Protect uptime: put your modem/router on a small UPS so your doorbell and cameras keep working during brief outages.
Power and Wiring: Battery vs. Wired
- Battery devices: Quick to install; plan a calendar reminder for charging/swaps.
- Wired devices: Lower maintenance and typically better performance; plan cable paths ahead of time.
Doorbell power: Verify the transformer output (commonly 16–24 VAC) and confirm chime compatibility. If you’re not comfortable checking voltage, have a licensed electrician verify. Follow the manufacturer’s wiring diagram—each brand is a little different.
If you need a new outlet for a hub/NVR or want to relocate power, use a licensed electrician. Exterior outlets should be GFCI with in‑use covers.
Mounting Cameras and Doorbells Cleanly
- Match fasteners to the surface: masonry anchors for brick/block, siding standoffs to keep devices level, and stainless screws outdoors.
- Pilot‑drill and seal: add a small bead of exterior‑grade sealant behind screws and around wire pass‑throughs.
- Run low‑voltage neatly: use grommets where cable passes through, avoid kinks, and keep away from sharp edges.
- Know what’s behind the wall: scan for wires/plumbing; if you drill plates, restore fire blocking where required.
In Somerset County’s humid summers, recheck exterior sealant annually to prevent moisture intrusion. Need clean patching after cable runs? See Drywall Repair Types.
Smart Locks and Doors: Make the Hardware Work Together
- Confirm door thickness and backset. Check lock handing before you buy.
- Test the mechanical deadbolt by hand first. If it drags, fix alignment before adding a smart lock.
- Reinforce strike plates with longer screws into the framing.
Picking a lock or upgrading hardware? Read Upgrading or Replacing Deadbolt Locks. If your door sticks, sags, or won’t latch reliably, start here: Why Your Exterior Door Isn’t Closing Properly.
Positioning Sensors for Fewer False Alarms
- Door/window contacts: Mind the rated gap; align arrows/magnets; avoid loose trim.
- Motion sensors: Mount 6.5–7.5 feet high; angle away from windows and HVAC vents; consider pet‑immune models.
- Garage/side doors: Pair a contact sensor with a camera view for visual confirmation.
App Setup, Zones, and Testing
- Update firmware first. Then add devices in this order: hub (if used), doorbell and cameras, locks, then sensors.
- Create motion/activity zones and schedules (Home vs Away). Set critical alerts to high priority.
- Test everything: live view latency, two‑way talk, night vision, lock/unlock commands, and sensor notifications.
- Document basics: label power adapters, note your Wi‑Fi SSID, and keep a small maintenance log for batteries and cleanings.
While you’re reviewing alerts and alarms, it’s a good time to check your safety devices too: Tips for Replacing Smoke Alarms.
Maintenance That Prevents Missed Events
- Quarterly: clean camera lenses/doorbell faces; check mount tightness; trim plants blocking views.
- Biannually: test every sensor and siren; replace smoke/CO batteries; review user codes and remove old access.
- After storms: verify outdoor device seals and re‑inspect cable clips/ties.
Need a Hand?
If you’d like a neat, reliable setup without the frustration, reach out to Help Me Henry for Handyman services in Somerset County, NJ. We’ll help you place devices smartly, mount them cleanly, and keep your system easy to live with.