
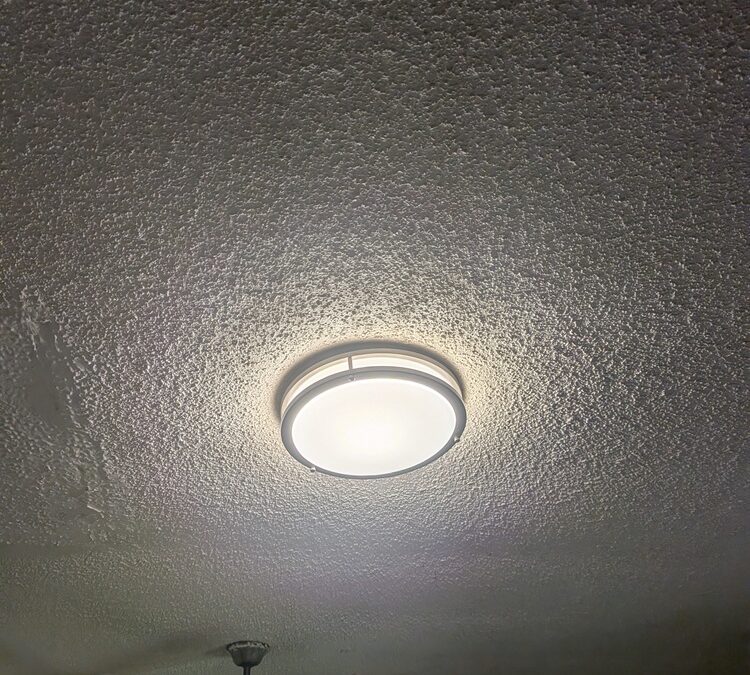
Updating light fixtures is one of the fastest ways to refresh a room. Done right, it also improves safety, comfort, and energy use. Below are practical steps we follow in Somerset County, NJ homes to keep projects simple and clean—from pre-checks and sizing to mounting, wiring, and finish work.
1) Quick pre-checks before you start
A few minutes up front saves headaches later.
- Shut off power at the breaker and verify with a non-contact tester at the fixture and switch.
- Confirm the junction box is solidly fastened to framing and rated for the fixture’s weight. Use a fan-rated box (brace-style) for ceiling fans and heavy chandeliers.
- Check box fill. The box volume is stamped inside; make sure there’s enough space for conductors and pigtails. If it’s crowded, swap to a larger, code-rated box.
- Note ceiling height and clearances so the fixture won’t hang too low or block doors and cabinets.
Tip: If you’re unsure about box support or wiring condition, pause and consider a pro evaluation before proceeding.
2) Choose the right fixture (brightness, size, and rating)
Brightness and color
- Warm (2700–3000K) for living rooms and bedrooms.
- Neutral (3000–3500K) for kitchens and task areas.
- Look for high CRI (90+) to make colors look natural, especially in kitchens and baths.
If your fixture takes bulbs, choose high-quality LED lamps with a consistent color temperature throughout the space.
Scale and placement
- Chandeliers: a quick sizing rule is diameter ≈ room length + width (in feet) as inches. Example: 10′ x 12′ room → ~22″ fixture.
- Kitchen islands: pendants usually hang 30–36 inches above the countertop; space shades roughly 2× the shade diameter apart.
Ratings and exterior considerations
- Use Damp-rated fixtures in bathrooms and covered porches; Wet-rated for exposed outdoor spots.
- For exteriors, consider Dark-Sky friendly fixtures and add dusk-to-dawn or motion controls for convenience and energy savings.
3) Make sure it plays nice with switches and wiring
- LED + dimmer compatibility: use dimmable bulbs and an LED-compatible dimmer. Make sure the total LED wattage stays within the dimmer’s LED rating.
- Smart switches: many require a neutral wire in the box. Verify before you buy; older homes may not have one at the switch location.
- Older wiring: if there’s no ground, plan to upgrade wiring or use a GFCI-protected circuit with proper labeling. Aluminum wiring needs CO/ALR-rated devices and antioxidant. Brittle insulation or overheated conductors are red flags.
- Multi-location (3-way/4-way): use matched dimmer or smart switch kits designed for multi-way circuits.
Related read: Tips for Replacing Smoke Alarms.
4) Mounting that actually holds
- Use the manufacturer’s crossbar or bracket and fasten into the electrical box—never just into drywall or plaster.
- For heavy fixtures, upgrade to a brace-style, fan-rated box secured to joists.
- Dry fit the canopy and check screw length so it sits flush without gaps. Trim screws if needed.
5) Wire connections the pro way
- Pre-assemble on the floor when possible. Set screw openings to the side or back for a clean look.
- Use pigtails to keep box wiring tidy; leverage quality lever connectors or correctly sized wire nuts.
- Support the fixture while wiring (use the provided hook or a helper) to avoid tugging on conductors.
- Tuck conductors carefully to avoid pinched insulation; install any provided strain reliefs.
Additional considerations for Kitchen and Bath
- Vanity lights: mount 75–80 inches from the floor, centered over the sink. For side sconces, aim for 60–66 inches high and 28–36 inches apart.
- Use Damp-rated fixtures in baths and keep them outside of shower spray zones. Ensure GFCI protection where required.
- If moving a light or a smaller canopy exposes old paint lines or damage, plan for drywall patching and touch-up paint.
Related: Drywall Repair Types and Tips for Recaulking a Bathtub/Shower.
Bonus: retrofit recessed lighting
If you have older cans, you can easily replace them with LED retro-fit kits.
- Swap older cans for LED retrofit trims—match your can size (4/5/6 inch) and choose color-selectable models to fine-tune warmth.
- Verify the existing can is IC/AT-rated if it’s in an insulated ceiling, and seal obvious air gaps to reduce drafts.
Ready to update your lighting?
If you’re in Somerset County, NJ and want fixtures updated with minimal disruption and a clean finish, we’re here to help. From a single pendant to a whole-room refresh, we’ll handle the details and leave your space tidy. Get in touch and tell us what you have in mind. We focus on clean, safe, and tidy fixture updates—without the upsell. In Bedminster, Bernards, Branchburg, Bridgewater, Franklin Township, Hillsborough, Raritan, Somerville, Warren, and Watchung, homeowners call us for:
- Light fixture swaps and upgrades (kitchen, dining, hall, and bathroom vanity lights).
- Dimmers, basic outlets and switches, and smart home device setup for lighting control—on existing wiring where code and conditions allow.
- Ceiling fan installations with proper fan-rated boxes when accessible.
- Drywall hole/crack repair and paint touch-ups after fixture moves or canopy changes.
- Related refreshes: cabinet hardware updates, mirror hanging, and recaulking in kitchens and baths.
Note: We don’t claim licensed electrical, plumbing, or structural work. When a project needs new circuits, panel changes, or other specialty services, we’ll refer you to a licensed pro.
See what we do here: Help Me Henry Services.